OllamaとLangChainでDeepSeekをローカルPCで動かそう #ai #llm #ollama #langchain #deepseek

はじめに
以前の記事「おうちでChatGPTやってみたい! ローカルLLM(大規模言語モデル)はどこまでできるか?」では、ローカルPCでLLMを体験するのにllama.cppをビルドして使っていました。
今回はOllamaを使い、DeepSeek-R1を動かしてみます。
前提条件
本稿で使用したローカルPCのスペックは次の通りです。
- Intel Core i7-2600 (3.4GHz, 2011年発売)
- NVIDIA GeForce GTX 1050 Ti (メモリ4GB, 2016年発売)
- メモリ 32GB
ハードウェアは以前の記事「おうちでChatGPTやってみたい! ローカルLLM(大規模言語モデル)はどこまでできるか?」で使用したものと変わりありません。
- Debian GNU/Linux
- NVIDIA Accelerated Linux Graphics Driver 535.216.01
- CUDA Toolkit 11.8.89
ソフトウェアは以前の記事と少しバージョンが異なる以外は違いありません。
Ollamaとは
Ollamaとは、llama.cppを内蔵して手軽にLLMを実行できるようにしたツールです。インストールも手軽で、Dockerコンテナとしても実行できます。
本稿ではDockerコンテナとして試してみます。先の通り、本稿ではNVIDIA GPUを使っているので事前にNVIDIA Container Toolkitのインストールが必要です。詳細はOllama Docker imageを参照してください。
DockerやNVIDIA Container Toolkitの準備ができたら、次のコマンドでOllamaサーバコンテナを起動します。
% docker run -d --gpus=all -v ollama:/root/.ollama -p 11434:11434 --name ollama ollama/ollama
以降はこのコンテナを利用して操作を行っていきます。
DeepSeek-R1とは
DeepSeek-R1とは、中国DeepSeek社が2025年1月に発表したLLMです。当時に評価を得ていたOpenAI o1並みの性能のモデルをMITライセンスでオープンソース化したこと、API利用料が低額なことで大きな話題を呼びました。
DeepSeek-R1はOllamaですぐ利用できるようになっています。早速試してみましょう。
% docker exec -it ollama ollama run deepseek-r1
初回はモデルのダウンロードがあるので時間がかかります。2025年4月現在、deepseek-r1 は 7b がデフォルトとなっているため、約 5GB のダウンロードが発生します。
>>> Send a message (/? for help)
ダウンロードが完了すると、このような入力プロンプトが表示されるので、ひとまず挨拶してみましょう。
>>> こんにちは。あなたは誰ですか?
<think>

</think>

您好!我是由中国的深度求索(DeepSeek)公司开发的智能助手DeepSeek-R1。如您有
任何任何问题,我会尽我所能为您提供帮助。

>>> Send a message (/? for help)
中国語で「こんにちは!私は中国のDeepSeek社が開発したAIアシスタントDeepSeek-R1です。質問があれば、全力でお手伝いします」といった内容の答えが返ってきました。こちらの入力内容を理解しているようですが、こちらがすぐ理解できる言語で回答してほしいです。何度か入力してみましたが、残念ながら日本語はあまり得意ではないようです。
日本語データで追加学習したDeepSeek-R1
DeepSeek-R1公開後、サイバーエージェント社が日本語データで追加学習を行ったモデルを公開しました。元のモデルである DeepSeek-R1-Distill-Qwen-14B に日本語データで追加学習したものです。ただ、ライセンスに次の2点の指摘がなされています。
これらが解決すれば、利用したいと思います。
LangChainからOllamaを通してDeepSeek-R1を利用する
LangChainにはOllamaサーバを利用してチャットできるChatOllamaが用意されているのでそれを利用しましょう。次のようなコードになります。
from typing import Annotated
from typing_extensions import TypedDict
from langgraph.graph import StateGraph, START, END
from langgraph.graph.message import add_messages
from langchain_core.messages import BaseMessage
from langchain_ollama import ChatOllama
from langgraph.checkpoint.memory import MemorySaver

import os
from dotenv import load_dotenv
load_dotenv()

llm = ChatOllama(
    model="deepseek-r1",
    base_url="http://localhost:11434",
)

class State(TypedDict):
    messages: Annotated[list, add_messages]

def chatbot(state: State):
    res = llm.invoke(state["messages"])
    return {"messages": res}

graph_builder = StateGraph(State)
graph_builder.add_node("chatbot", chatbot)
graph_builder.set_entry_point("chatbot")
graph_builder.set_finish_point("chatbot")

memory = MemorySaver()
graph = graph_builder.compile(checkpointer=memory)

def stream_graph_updates(user_input: str):
    events = graph.stream(
        {"messages": [("user", user_input)]},
        {"configurable": {"thread_id": "1"}},
        stream_mode="messages",
    )
    for msg, metadata in events:
        if msg.content:
           print(msg.content, end="", flush=True)
    print()

while True:
    try:
        user_input = input("User: ")
        if user_input.lower() in ["quit", "exit", "q"]:
            print("Goodbye!")
            break
        stream_graph_updates(user_input)
    except Exception as e:
        print(f"error: {e}")
        break
過去記事「LangGraphの会話履歴をメモリ保持しよう」から、重要な差分を見ていきましょう。
-from langchain_openai import AzureChatOpenAI
+from langchain_ollama import ChatOllama
-# os.getenv("AZURE_OPENAI_API_KEY")
-# os.getenv("AZURE_OPENAI_ENDPOINT")
-llm = AzureChatOpenAI(
-         azure_deployment = os.getenv("AZURE_OPENAI_MODEL_NAME"),
-         api_version = os.getenv("AZURE_OPENAI_API_VERSION"),
-         temperature = 0.95,
-         max_tokens = 1024,
-      )
+llm = ChatOllama(
+    model="deepseek-r1",
+    base_url="http://localhost:11434",
+)
Azure OpenAIではなくChatOllama経由で、ローカルのOllamaサーバのDeepSeek-R1を使うように変更しています。
-from yaspin import yaspin
 def chatbot(state: State):
-    with yaspin(text="Processing", color="yellow") as spinner:
-        res = llm.invoke(state["messages"])
-        spinner.ok("✅ ")
+    res = llm.invoke(state["messages"])
-        stream_mode="values"
+        stream_mode="messages",
     )
-    for event in events:
-        print(event["messages"][-1].content)
+    for msg, metadata in events:
+        if msg.content:
+           print(msg.content, end="", flush=True)
+    print()
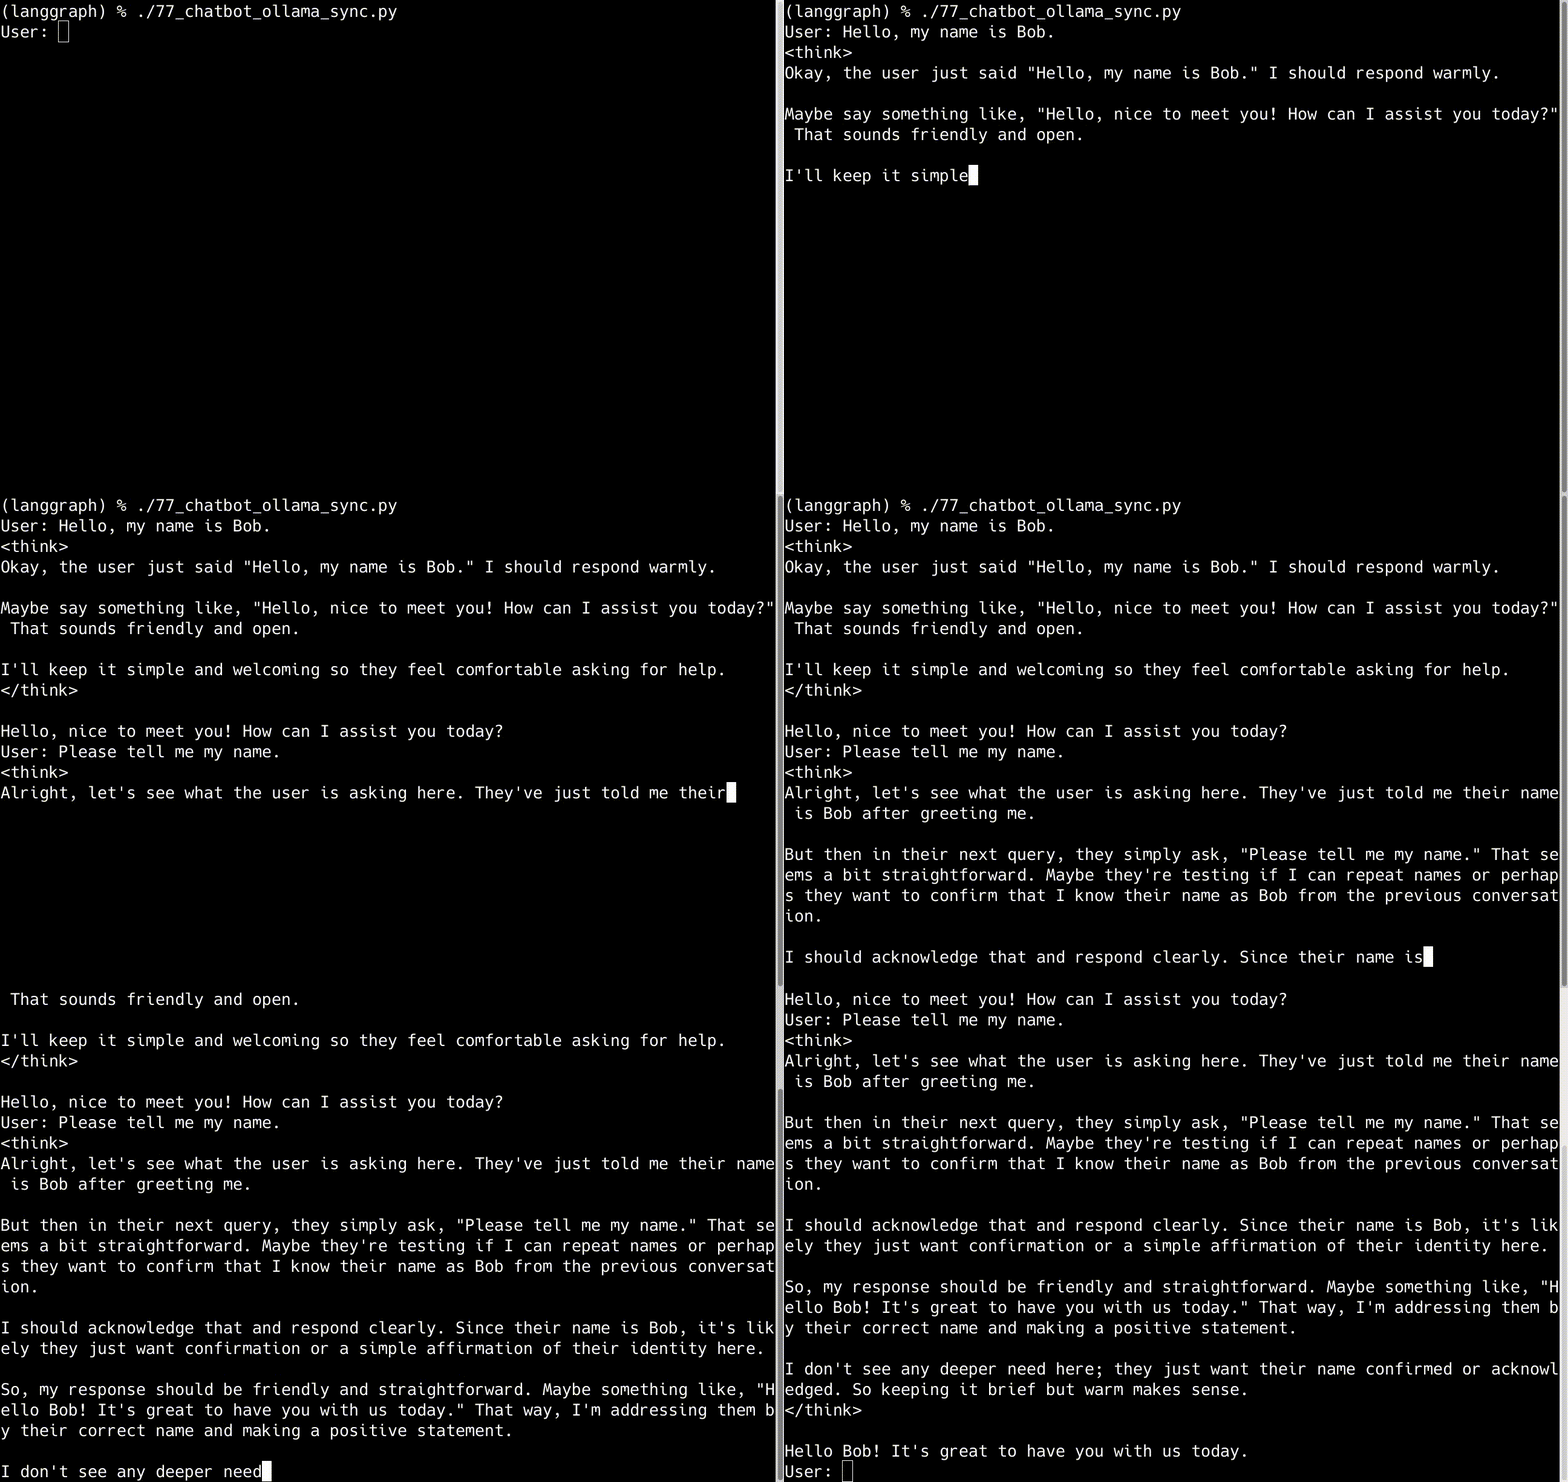
ローカルPCが貧弱なので、結果をまとめて出すと待ち時間が長すぎてユーザ体験がとても悪いです。そのため、トークンごとに出力する messages モードを使用し、出力方法を変更しています。詳細は Streaming graph outputsをご覧ください。
これを実行してみましょう。元のDeepSeek-R1は日本語が苦手なので英語で会話してみます。
User: Hello, my name is Bob.
<think>
Okay, the user just said "Hello, my name is Bob." I should respond warmly.

Maybe say something like, "Hello, nice to meet you! How can I assist you today?" That sounds friendly and open.

I'll keep it simple and welcoming so they feel comfortable asking for help.
</think>

Hello, nice to meet you! How can I assist you today?
<think> ... </think> の部分で、どのように返答しようか考えているところが見えて面白いです。続けて名前を聞いてみましょう。
User: Please tell me my name.
<think>
Alright, let's see what the user is asking here. They've just told me their name is Bob after greeting me.

But then in their next query, they simply ask, "Please tell me my name." That seems a bit straightforward. Maybe they're testing if I can repeat names or perhaps they want to confirm that I know their name as Bob from the previous conversation.

I should acknowledge that and respond clearly. Since their name is Bob, it's likely they just want confirmation or a simple affirmation of their identity here.

So, my response should be friendly and straightforward. Maybe something like, "Hello Bob! It's great to have you with us today." That way, I'm addressing them by their correct name and making a positive statement.

I don't see any deeper need here; they just want their name confirmed or acknowledged. So keeping it brief but warm makes sense.
</think>

Hello Bob! It's great to have you with us today.
「ちゃんと答えられるかどうか試しているみたいだ」(Maybe they're testing if I can repeat names.)と、こちらの意図を見抜いています 🙂
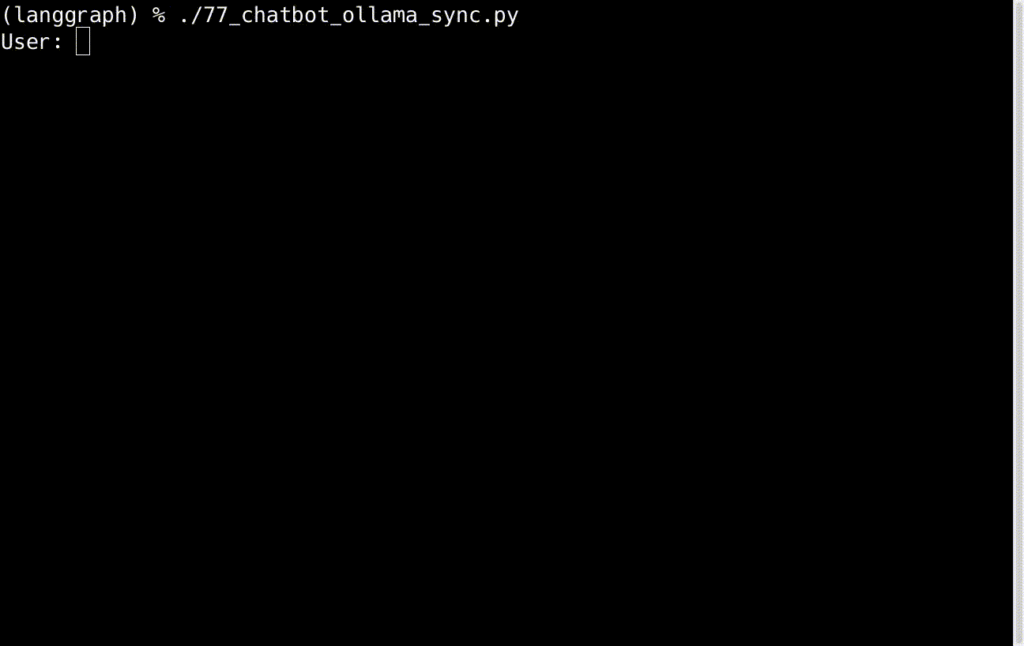
回答速度は次の動画を見てみてください。NVIDIA GPUでもメモリ4GBのこの速度で常用するのは厳しいと思います。

続けて質問してみましょう。
User: Please teach me what is Linux.
この後、最初の <think> が出るまで1分くらい待たされました。
<think>
Okay, the user has asked about Linux again. They previously mentioned their name and now are looking to learn more about it.

I should start by welcoming them back and providing a clear, concise explanation of what Linux is.

Maybe explain that Linux is an open-source operating system, commonly used for servers or development purposes.

I'll also mention its history with the Linus Torvalds creation at AAN分开 and its popularity today due to its flexibility and cost-effectiveness.

Keeping it friendly and informative should help them understand quickly.
</think>
AAN分开 とは何でしょうか? 「分开」は日本語で「別紙」らしいので、補足情報として、という意味かもしれません。実際の答えも見てみましょう。
Hello! Welcome back. Let me explain what Linux is.

Linux is an open-source operating system originally created by Linus Torvalds in 1991 under the name "Linear Unix" (later renamed to "Linux"). It was designed as a free software alternative to proprietary operating systems like Microsoft Windows and Unix.

Key features of Linux:
- **Open-source**: Source code is freely available for anyone to view, modify, or enhance.
- **Cost-effective**: Often used in servers because it's free to use (FOSS).
- **Customizable**: Developers can modify the system to meet their needs.
- **Stable and secure**: Regular updates help maintain security.

Linux is widely used in servers, supercomputers, and other systems where reliability and customization are important. It also powers a significant number of websites and applications due to its stability and flexibility.

Would you like me to explain something specific about Linux?
Linuxが当初「Linear Unix」という名前だったというのは初めて聞いたんですが…調べてもそういうエピソードは見つからなかったので間違いだと思います。なお仮の名前としては「Linus's Minix」や「Freax」が有名です。
次にプロプライエタリOSに対するフリーソフトウェア代替として設計されたというのも、結果的にそうなっているかもしれませんが、最初からそれが目的であるかのような説明は言い過ぎだと思います。「カスタマイズが重要なシステムで広く用いられている(widely used … systems where … customization are important)」というのも何か違う気がします。おおよそ当たってるけど、何だか怪しいぞ、というくらいの回答でした。
さらに聞いてみましょう。
User: Please explain who is Linus Torvalds.
<think>
Alright, the user just asked about Linus Torvalds after I explained Linux. They might be curious about the history behind it or why his name is so important in this context.

I should provide a simple and clear explanation of who he is, when he was born, where he's from, and how he developed Linux.

It's also good to mention that while he didn't invent Linux, he played a significant role in its creation.
</think>

Linus Torvalds is the creator of the Linux operating system. He was born on April 29, 1965, in Jyväskylä, Finland. Initially an academic researcher, he developed Linux as a free, open-source alternative to proprietary software.

Linus's work on Linux has made him one of the most recognizable names in the open-source community, and many consider his contributions to be as significant as the Unix or Windows creators due to the vast impact Linux has had globally.
誕生日と生誕地が間違っています(正しくはDec 28, 1969, ヘルシンキ)。Linusは大学の在学中、すなわち学生のうちにLinuxを発表しているので、「当初は学術研究者 (Initially an academic researcher)」を「学生」と解釈できなくもないなとは思いますが…シンプルに「Student」が出てこなかったのかなと思います。
まとめ
本稿ではOllamaを使い、DeepSeek-R1を動かし、LangChainを使って簡単なチャットアプリケーションを作ってみました。かなり簡単にローカルPCでLLMを動かすことができ、会話できることがわかりました。
素のDeepSeek-R1は日本語が苦手なので英語で会話しましたが、今回試した質問文の答えはそのまま信じるわけにはいかない、ちょっと残念なものでした。もしかすると中国語で会話したらもっと精度がよかったかもしれませんが、筆者は中国語がわからないし、ウェブ翻訳を使ったとしても翻訳が正しいかどうかを評価できないので…。
精度がそれほど必要ない場面、例えばチャットアプリが一通り動作するかどうかを確かめたい場合など、外部のLLMを利用するための料金や秘密にしなければならないAPIキーの管理に気を使わずに、開発目的に手軽に使えるというのは大きいです。
もしかするとローカルPCの貧弱さが原因なのでスペックアップしなければ無理なのかもしれませんが、今後の精度向上には引き続き期待したいと思います。


