
AIインフラ実践ノート:Astraのuv
はじめに
LLMの活用は急速に広がり、その可能性を疑う人はほとんどいません。
しかし一方で、AIの活用をインフラでどう支えるかという視点が、今後ますます重要になっていくと感じています。
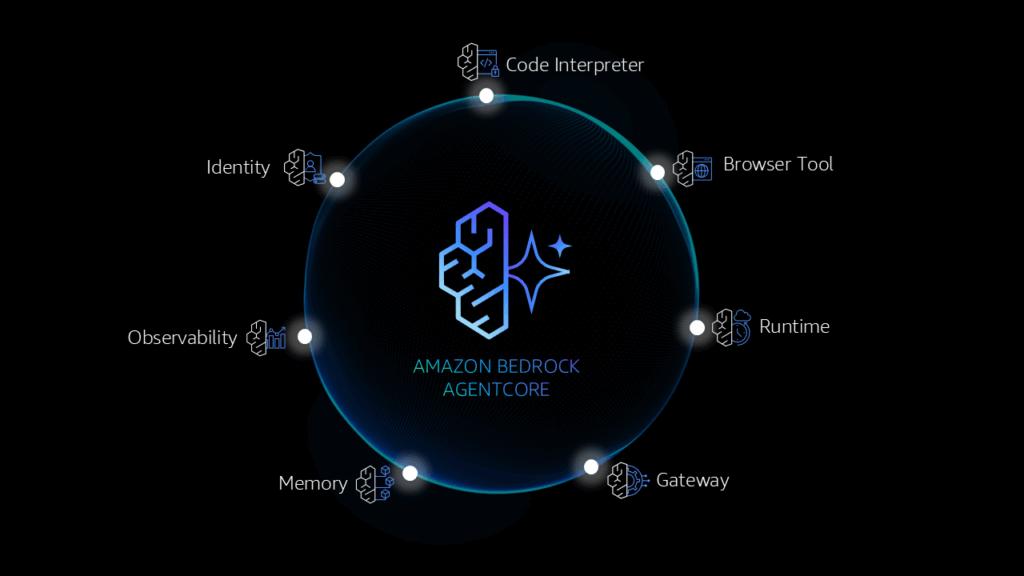
その答えを探る中で、 AWS MCP Server と AWS Bedrock AgentCore に注目しました。
筆者のモットーは、「まず動かしてみること」。
今回は、事前準備の一つとして、Astra の uvを試してみました。
参考
https://docs.astral.sh/uv/getting-started/installation/
uvとは
uvは「高速・統合・簡単・安全」を兼ね備えた次世代のPython開発ツールです。従来のpip + venv + pyenv + Poetryの組み合わせを1本化し、開発効率を劇的に向上させます。
AWS MCP ServerとAWS AgentCore関連のサンプルコードの説明が、すべてuvベースだったために、とりあえず、導入することにしました。
筆者は、venvを使っていましたが、そのまま上書きする形で移行できました。
uvのインストール
インストールは、とても簡単でした。
以下のようにインストールし、確認が出来ました。
$ curl -LsSf https://astral.sh/uv/install.sh | sh

$ uv help
An extremely fast Python package manager.

Usage: uv [OPTIONS] <COMMAND>

Commands:
  auth                       Manage authentication
  run                        Run a command or script
  init                       Create a new project
  add                        Add dependencies to the project
  remove                     Remove dependencies from the project
  version                    Read or update the project's version
  sync                       Update the project's environment
  lock                       Update the project's lockfile
  export                     Export the project's lockfile to an alternate format
  tree                       Display the project's dependency tree
  format                     Format Python code in the project
  tool                       Run and install commands provided by Python packages
  python                     Manage Python versions and installations
  pip                        Manage Python packages with a pip-compatible interface
  venv                       Create a virtual environment
  build                      Build Python packages into source distributions and wheels
  publish                    Upload distributions to an index
  cache                      Manage uv's cache
  self                       Manage the uv executable
  generate-shell-completion  Generate shell completion
  help                       Display documentation for a command

Cache options:
  -n, --no-cache               Avoid reading from or writing to the cache, instead using a temporary directory for the duration
                               of the operation [env: UV_NO_CACHE=]
      --cache-dir <CACHE_DIR>  Path to the cache directory [env: UV_CACHE_DIR=]

Python options:
      --managed-python       Require use of uv-managed Python versions [env: UV_MANAGED_PYTHON=]
      --no-managed-python    Disable use of uv-managed Python versions [env: UV_NO_MANAGED_PYTHON=]
      --no-python-downloads  Disable automatic downloads of Python. [env: "UV_PYTHON_DOWNLOADS=never"]

Global options:
  -q, --quiet...                                   Use quiet output
  -v, --verbose...                                 Use verbose output
      --color <COLOR_CHOICE>                       Control the use of color in output [possible values: auto, always, never]
      --native-tls                                 Whether to load TLS certificates from the platform's native certificate store
                                                   [env: UV_NATIVE_TLS=]
      --offline                                    Disable network access [env: UV_OFFLINE=]
      --allow-insecure-host <ALLOW_INSECURE_HOST>  Allow insecure connections to a host [env: UV_INSECURE_HOST=]
      --no-progress                                Hide all progress outputs [env: UV_NO_PROGRESS=]
      --directory <DIRECTORY>                      Change to the given directory prior to running the command [env:
                                                   UV_WORKING_DIRECTORY=]
      --project <PROJECT>                          Run the command within the given project directory [env: UV_PROJECT=]
      --config-file <CONFIG_FILE>                  The path to a `uv.toml` file to use for configuration [env: UV_CONFIG_FILE=]
      --no-config                                  Avoid discovering configuration files (`pyproject.toml`, `uv.toml`) [env:
                                                   UV_NO_CONFIG=]
  -h, --help                                       Display the concise help for this command
  -V, --version                                    Display the uv version

Use `uv help <command>` for more information on a specific command.
uv で仮想環境を作成
筆者の場合、Python 3.11の環境を維持したかったので、以下のように既存の .venvを上書きしました。
$ uv venv -p 3.11 .venv
Using CPython 3.11.13 interpreter at: /usr/bin/python3.11
Creating virtual environment at: .venv
? A virtual environment already exists at `.venv`. Do you want to replace it? [y/n] › yes

hint: Use the `--clear` flag or set `UV_VENV_CLEAR=1` to skip this prompt

$ source ~/.venv/bin/activate
(.venv) ubuntu@LAPTOP-DHL9LRBE:~$
もし、別のバージョンを使っているなら、バージョン指定を変えてください。
$uv venv -p 3.10 .venv
$ source ~/.venv/bin/activate
(.venv) ubuntu@LAPTOP-DHL9LRBE:~$
PATH設定
仮想環境は、パス設定をして永続化できます。
uvは、.local/bin/の配下にあります。
$ ls .local/bin/uv
.local/bin/uv
Ubuntu 22.04(WSL)の場合、.profileに以下のような設定があり、別途のPATH設定は不要でした。
# set PATH so it includes user's private bin if it exists
if [ -d "$HOME/.local/bin" ] ; then
    PATH="$HOME/.local/bin:$PATH"
fi
依存関係の再インストール
必要に応じてパッケージを再インストールしてください。
uvで新規作成・上書きした場合、venvで使っていたパッケージ(requirements.txt)はuvで再インストールが必要です。これを忘れてPythonコードを実行するとエラーなります。
uv pip install -r requirements.txt
or
uv pip install <package name>
まとめ
とりあえず、自分のローカル環境でuvが使えるようになりました。筆者に取っては、AWS MCP ServerとAWS Bedrock AgentCore向けの記念すべき第一歩になります。これから、関連記事(AIインフラ実践ノート)を楽しみにしてください。
Author
モダンアーキテクチャー基盤のソリューションアーキテクトとして活動しています。
[著書]
・Amazon Cloudテクニカルガイド―EC2/S3からVPCまで徹底解析
・Amazon Elastic MapReduceテクニカルガイド ―クラウド型Hadoopで実現する大規模分散処理
・Cypherクエリー言語の事例で学ぶグラフデータベースNeo4j
・Neo4jを使うグラフ型データベース入門(共著)
・RDB技術者のためのNoSQLガイド(共著)


